
Remove Floaters and Outliers from Gaussian Splatting
Floaters and isolated Gaussians are the most common 3DGS artifact. Two practical approaches: statistical outlier removal and opacity-based pruning.
Floaters — those isolated, semi-transparent Gaussian blobs drifting in front of or around your scene — are the single most common 3DGS artifact. They come from stray points in the COLMAP initialization, from training noise, or from the optimizer's tendency to grow Gaussians in empty space when left unchecked. Whatever the cause, they make an otherwise good model look broken.
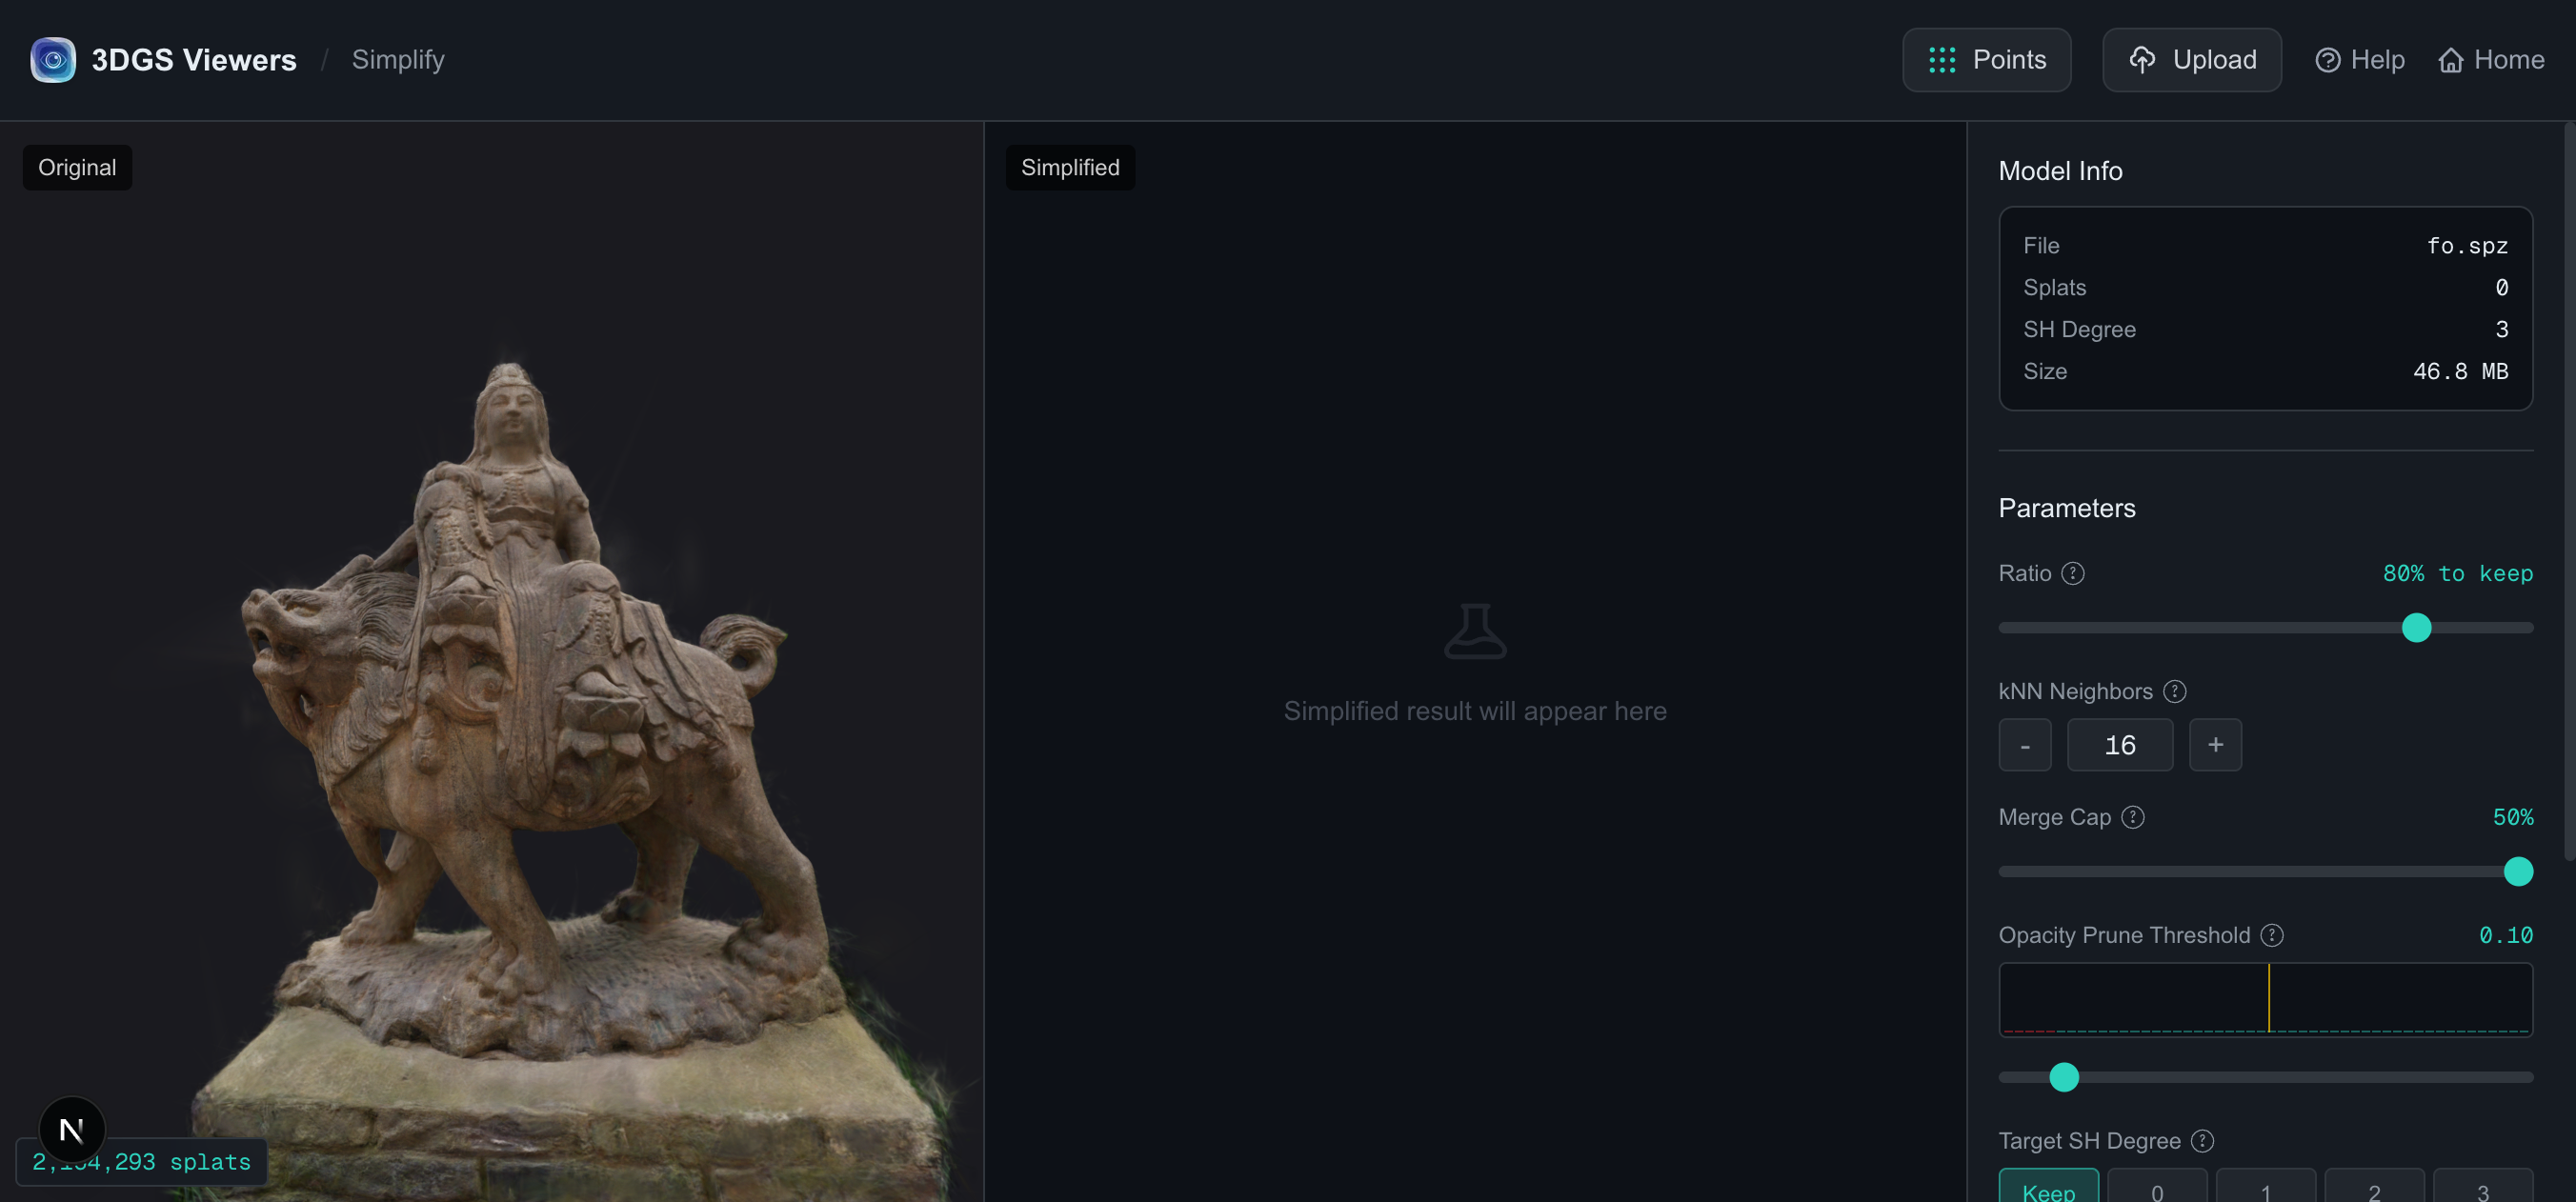
There are two practical ways to remove them, and they attack different stages: clean the initialization before training, or filter the trained model after. This article covers the post-training path — statistical outlier removal (SOR) and opacity-based pruning — both of which you can run in the browser via the 3DGS Simplify tool.
Why floaters happen
A floater is, structurally, a Gaussian (or a small cluster of Gaussians) that sits far from the real scene surface and has low opacity. Two root causes:
- Bad initialization. 3DGS seeds Gaussians from the COLMAP sparse point cloud. Any outlier point in that cloud becomes a Gaussian that the optimizer has to actively shrink. When training is short or regularization is weak, some of them never disappear.
- Training dynamics. The optimizer grows new Gaussians in regions of high reconstruction error. In empty space (sky, distant background) that growth can produce low-density blobs that contribute almost nothing visually but persist in the model.
Both produce the same visible result: blurry, detached patches that float in front of the scene as you move the camera.
If you have not trained yet, the most effective floater prevention is cleaning the COLMAP point cloud first. Removing outlier initialization points is cheaper than filtering a trained model and also speeds up training. The rest of this article is for when the model is already trained and you need to clean it up.
Approach 1 — Statistical Outlier Removal (SOR)
SOR is the most direct floater killer. For each Gaussian, it looks at the local neighborhood (the k nearest Gaussians) and computes the mean distance to those neighbors. Any Gaussian whose mean distance is more than a chosen number of standard deviations above the global mean is flagged as an outlier and removed. In plain terms: isolated splats get cut, dense regions stay.
In the simplifier, SOR is a dedicated section at the bottom of the parameter panel. It is off by default because it is the most expensive stage on large models and because, unlike merging, it can remove legitimately sparse-but-real detail.
Tuning SOR
Two parameters control it:
- Neighbors— how many surrounding splats each candidate is compared against. The tooltip recommends 20 as a starting point. Higher values give a more robust statistic but are slower; lower values are noisier. For most scenes, 16–32 is the sweet spot.
- Std Ratio— the sensitivity. Lower is more aggressive. 2.0 is the standard default from point-cloud processing; drop to 1.0–1.5 for heavy cleanup on a noisy model. Raise to 2.5–3.0 if SOR is eating real thin geometry.
SOR composes cleanly with the other simplification stages. A typical floater-cleanup run: ratio high (0.8–0.9, you are not trying to shrink the model much), kNN at default, SOR enabled with neighbors 20 and ratio 2.0. Run it and the floaters disappear, splat count drops modestly, and the visible scene is untouched.
Verifying you didn't over-clean
SOR's main risk is removing sparse-but-real geometry: power lines, fence wires, leaf tips, hair. After running SOR, always orbit the scene and check these regions. If thin detail vanished, raise the Std Ratio or disable SOR and fall back to opacity pruning.
Approach 2 — Opacity-based pruning
Many floaters are low-opacity by nature — the optimizer drove their opacity down during training but never fully removed them. That makes them easy to cut with the Opacity Prune Threshold, which is one of the main simplification parameters (covered in depth in the parameters guide).
The simplifier shows a live opacity histogramnext to this control. A model with a floater problem usually has a visible left tail — thousands of splats with opacity below 0.10. Pruning at 0.10–0.20 clears most of them for free, and pushing to 0.25–0.30 starts cutting into the semi-transparent edges of real geometry.
Opacity pruning is cheaper than SOR and is the right first thing to try. If floaters persist after aggressive opacity pruning, that means they have non-trivial opacity — at which point SOR is the tool that will catch them.
Which to use when
| Symptom | Reach for | Why |
|---|---|---|
| Faint, semi-transparent floaters | Opacity prune (0.15–0.25) | They live in the opacity tail; cheapest fix |
| Opaque or dense floaters | SOR (neighbors 20, ratio 1.5–2.0) | They are isolated in 3D space; SOR catches what opacity cannot |
| Floaters + general bloat | Opacity + ratio + SOR | Layered cleanup: prune invisible, merge, then filter outliers |
| Floaters persist after all of the above | Re-train from a cleaned point cloud | Bad initialization cannot always be fixed post-hoc |
A complete floaters-removal pass
Putting it together for a model that needs real cleanup:
- Load the trained model in the simplifier. Check the opacity histogram to see how big the low-opacity tail is.
- Set Opacity Prune Threshold to 0.15 (or wherever the left tail visibly drops off). This removes the faintest floaters for free.
- Leave Ratioat 0.8–0.9 (you are cleaning, not aggressively shrinking) and kNN at 16.
- Enable SOR: Neighbors 20, Std Ratio 2.0. This catches the denser, non-opacity floaters.
- Run simplification. Verify visually from several angles — especially thin detail, where SOR can over-reach.
- If real thin geometry was removed, raise the SOR Std Ratio to 2.5 or disable SOR and rely on opacity pruning alone.
- Export. Use the compare toolto confirm the cleaned model still matches the original on hero views (SSIM should stay high — floaters contribute little to rendered similarity).
What floaters are not
A couple of look-alikes worth distinguishing:
- Background bleed— distant geometry showing through a foreground surface. This is a depth/ordering issue, not an outlier, and SOR will not fix it. It usually points to under-training or a viewing-angle-dependent artifact.
- Specular popping— bright spots that flicker as the camera moves. That is view-dependent SH behavior, typically from too-aggressive SH compression during format conversion. Raise the SH degree back up.
- Edge ghosting— faint duplicates along sharp edges. Often a sign of insufficient densification during training rather than floaters per se.
For all three, the fix is upstream (training) or in format choice — not outlier filtering.
Further reading
- Tuning kNN and opacity pruning — the full parameter reference, including the opacity histogram in detail.
- Cleaning COLMAP point clouds — the pre-training floater prevention path.
- Compressing Gaussian Splatting models — the wider workflow that SOR and opacity pruning slot into.
Try it in your browser
3DGS Viewer runs entirely in your browser — no installation, no upload required for the tools covered in this article. Pick a tool and start in seconds.