
How to Clean COLMAP Point Clouds Before 3DGS Training
Sparse point clouds from COLMAP often contain outliers that destabilize 3DGS training. Learn to inspect, select, and remove bad points before training.
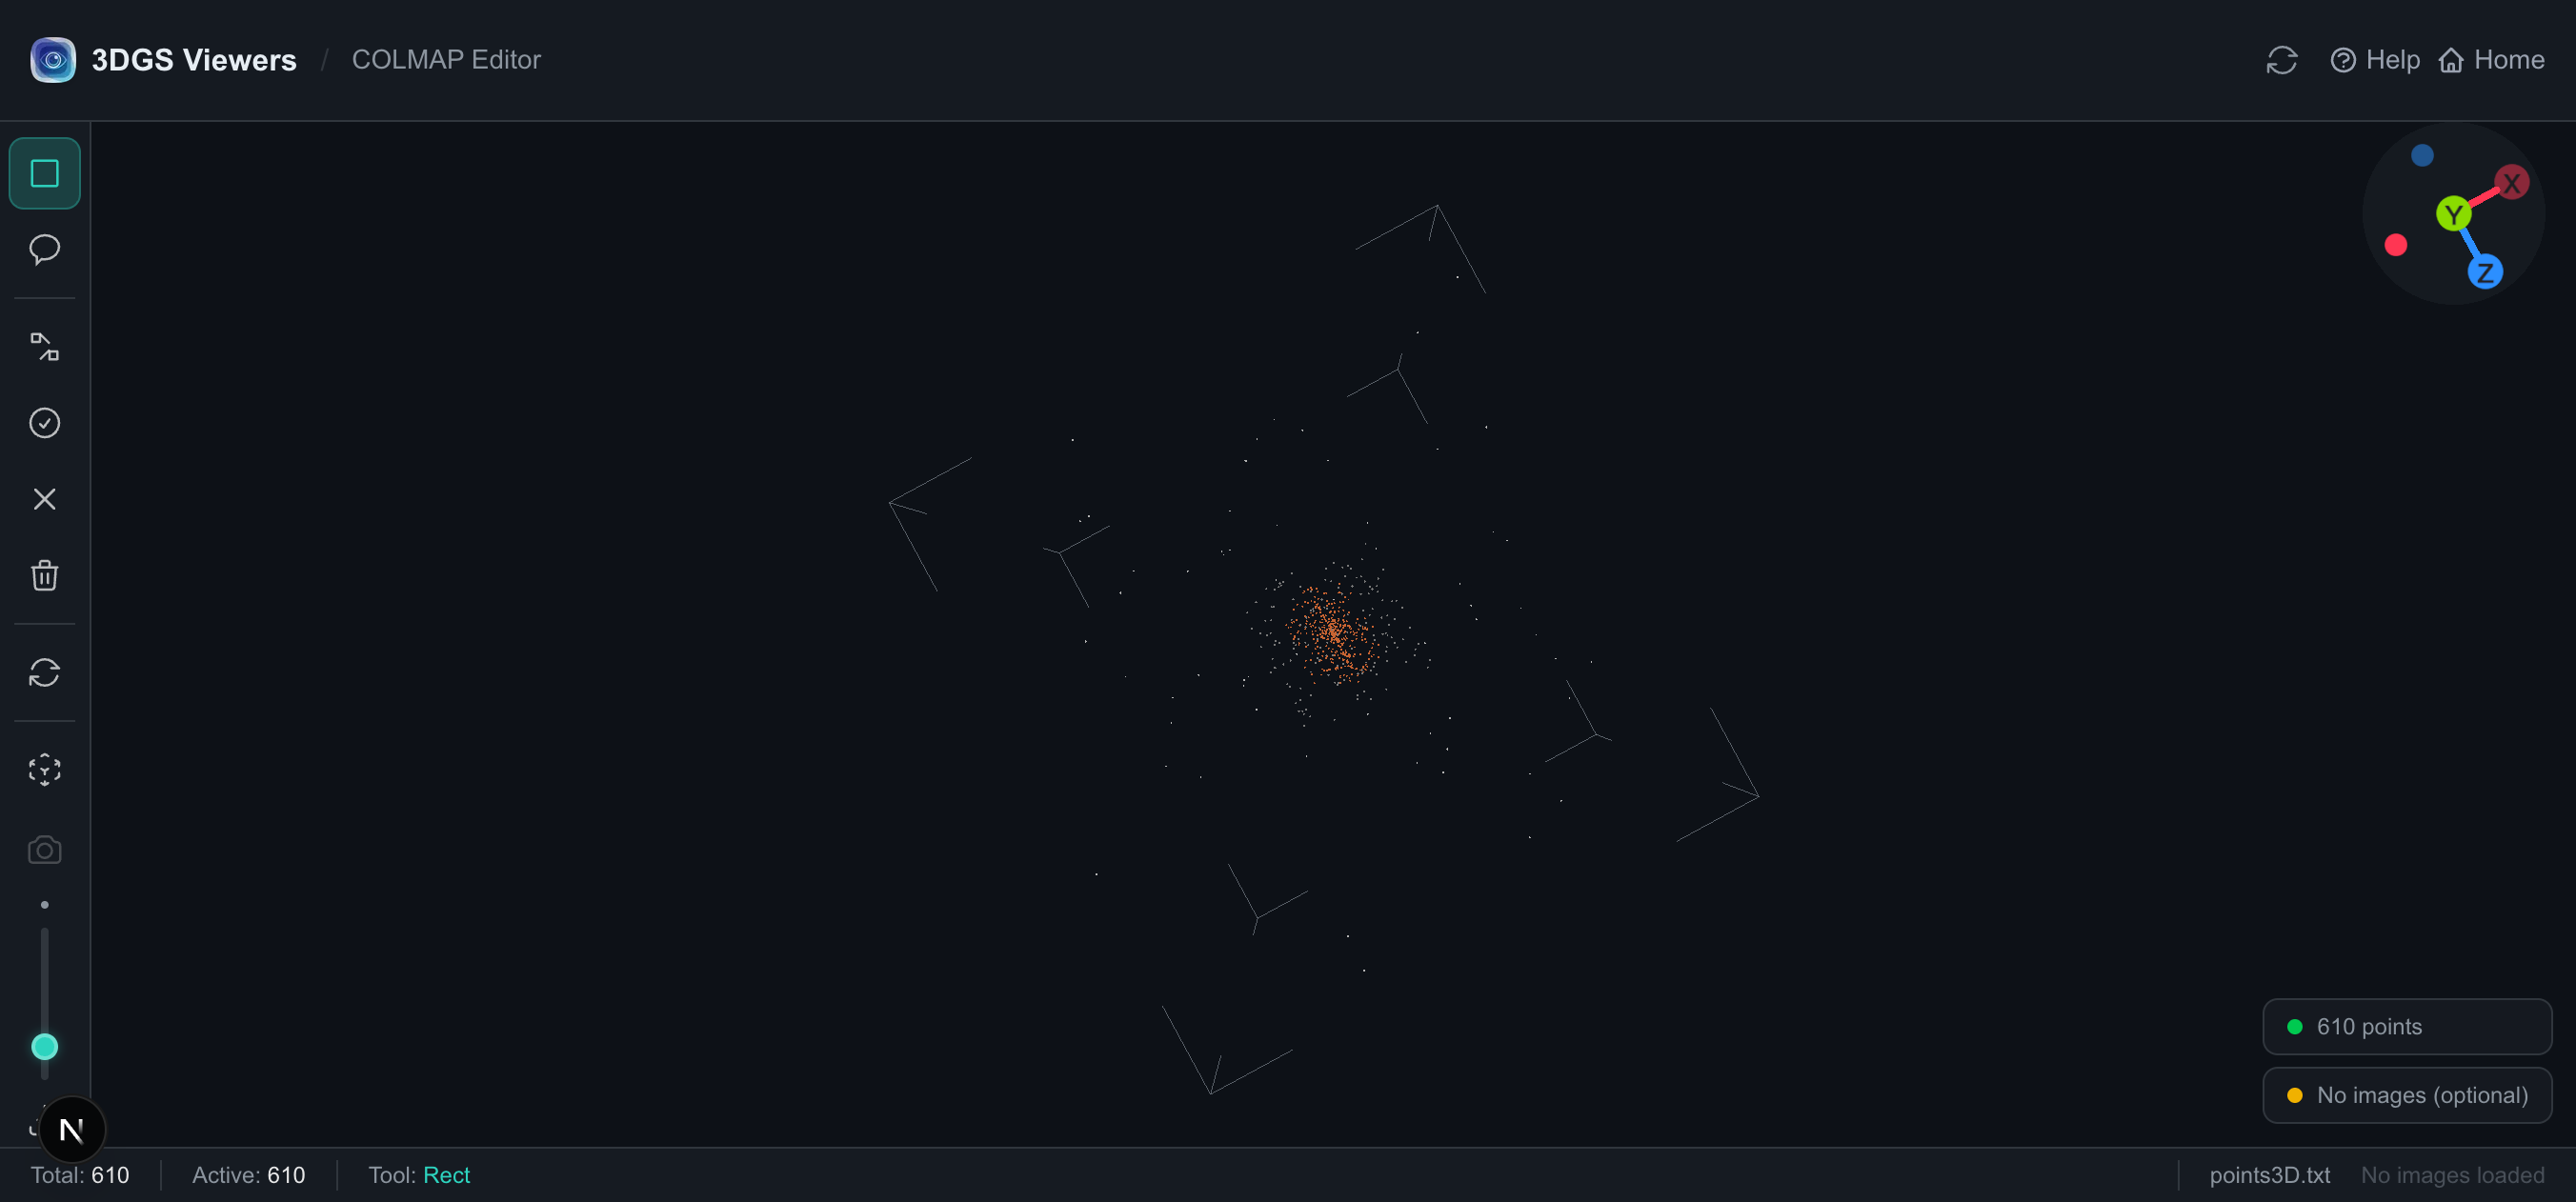
3D Gaussian Splatting training initializes its Gaussians from the sparse point cloud that COLMAP produces during Structure-from-Motion. The quality of that initialization matters: a noisy point cloud with outliers, orphaned cameras, or misregistered points forces the optimizer to spend capacity cleaning up messes instead of learning the scene. The result is longer training, more floaters, and a worse final model.
Cleaning the COLMAP point cloud before training is one of the highest-leverage, least-glamorous steps in the 3DGS pipeline. This is a practical workflow for doing it in the browser with the online COLMAP editor— no desktop install required.
What you are looking for
A typical raw COLMAP sparse reconstruction has three kinds of garbage:
- Outlier points— isolated 3D points far from the real scene surface, usually from mismatched features in low-texture or repetitive regions. These seed stray Gaussians that never converge away.
- Orphaned images— camera poses whose feature tracks were mostly rejected, leaving them connected to few or no 3D points. They distort the camera distribution and can destabilize view-dependent color.
- Noise clusters— dense blobs of points that do not correspond to real geometry (sky points, reflective surfaces, moving objects).
All three are visible by eye once you load the point cloud into the editor, which is why a visual cleaning pass beats a purely statistical one.
The editor interface
The COLMAP editor takes points3D.txt / points3D.bin and (optionally) images.txt / images.bin, renders the point cloud with camera frustums, and gives you rectangle and lasso selection tools to mark points for deletion. Drop an image folder alongside it and you get camera thumbnails on each frustum for orientation.
What the editor accepts
The tool parses four COLMAP file types:
points3D.txtandpoints3D.bin— the 3D point cloud itself.images.txtandimages.bin— camera poses and the point-to-image track references.
Camera intrinsics (the cameras.txt / cameras.bin files) are notparsed — the frustums you see are inferred from the per-image quaternion and translation in the images file. In practice you usually do not need to touch the cameras file for cleanup; just bring the points and images files. If you also drop an image folder in, the editor matches filenames to image entries and shows thumbnails on the frustums.
The cleanup workflow
1. Load and orient yourself
Drop in points3Dfirst. Once it renders, orbit the scene to find the obvious outliers — they are usually the points that sit far outside the main cluster of the scene. A quick way to find them: zoom out so the whole scene fits, and look for isolated specks at the edges.
2. Select outliers with rectangle or lasso
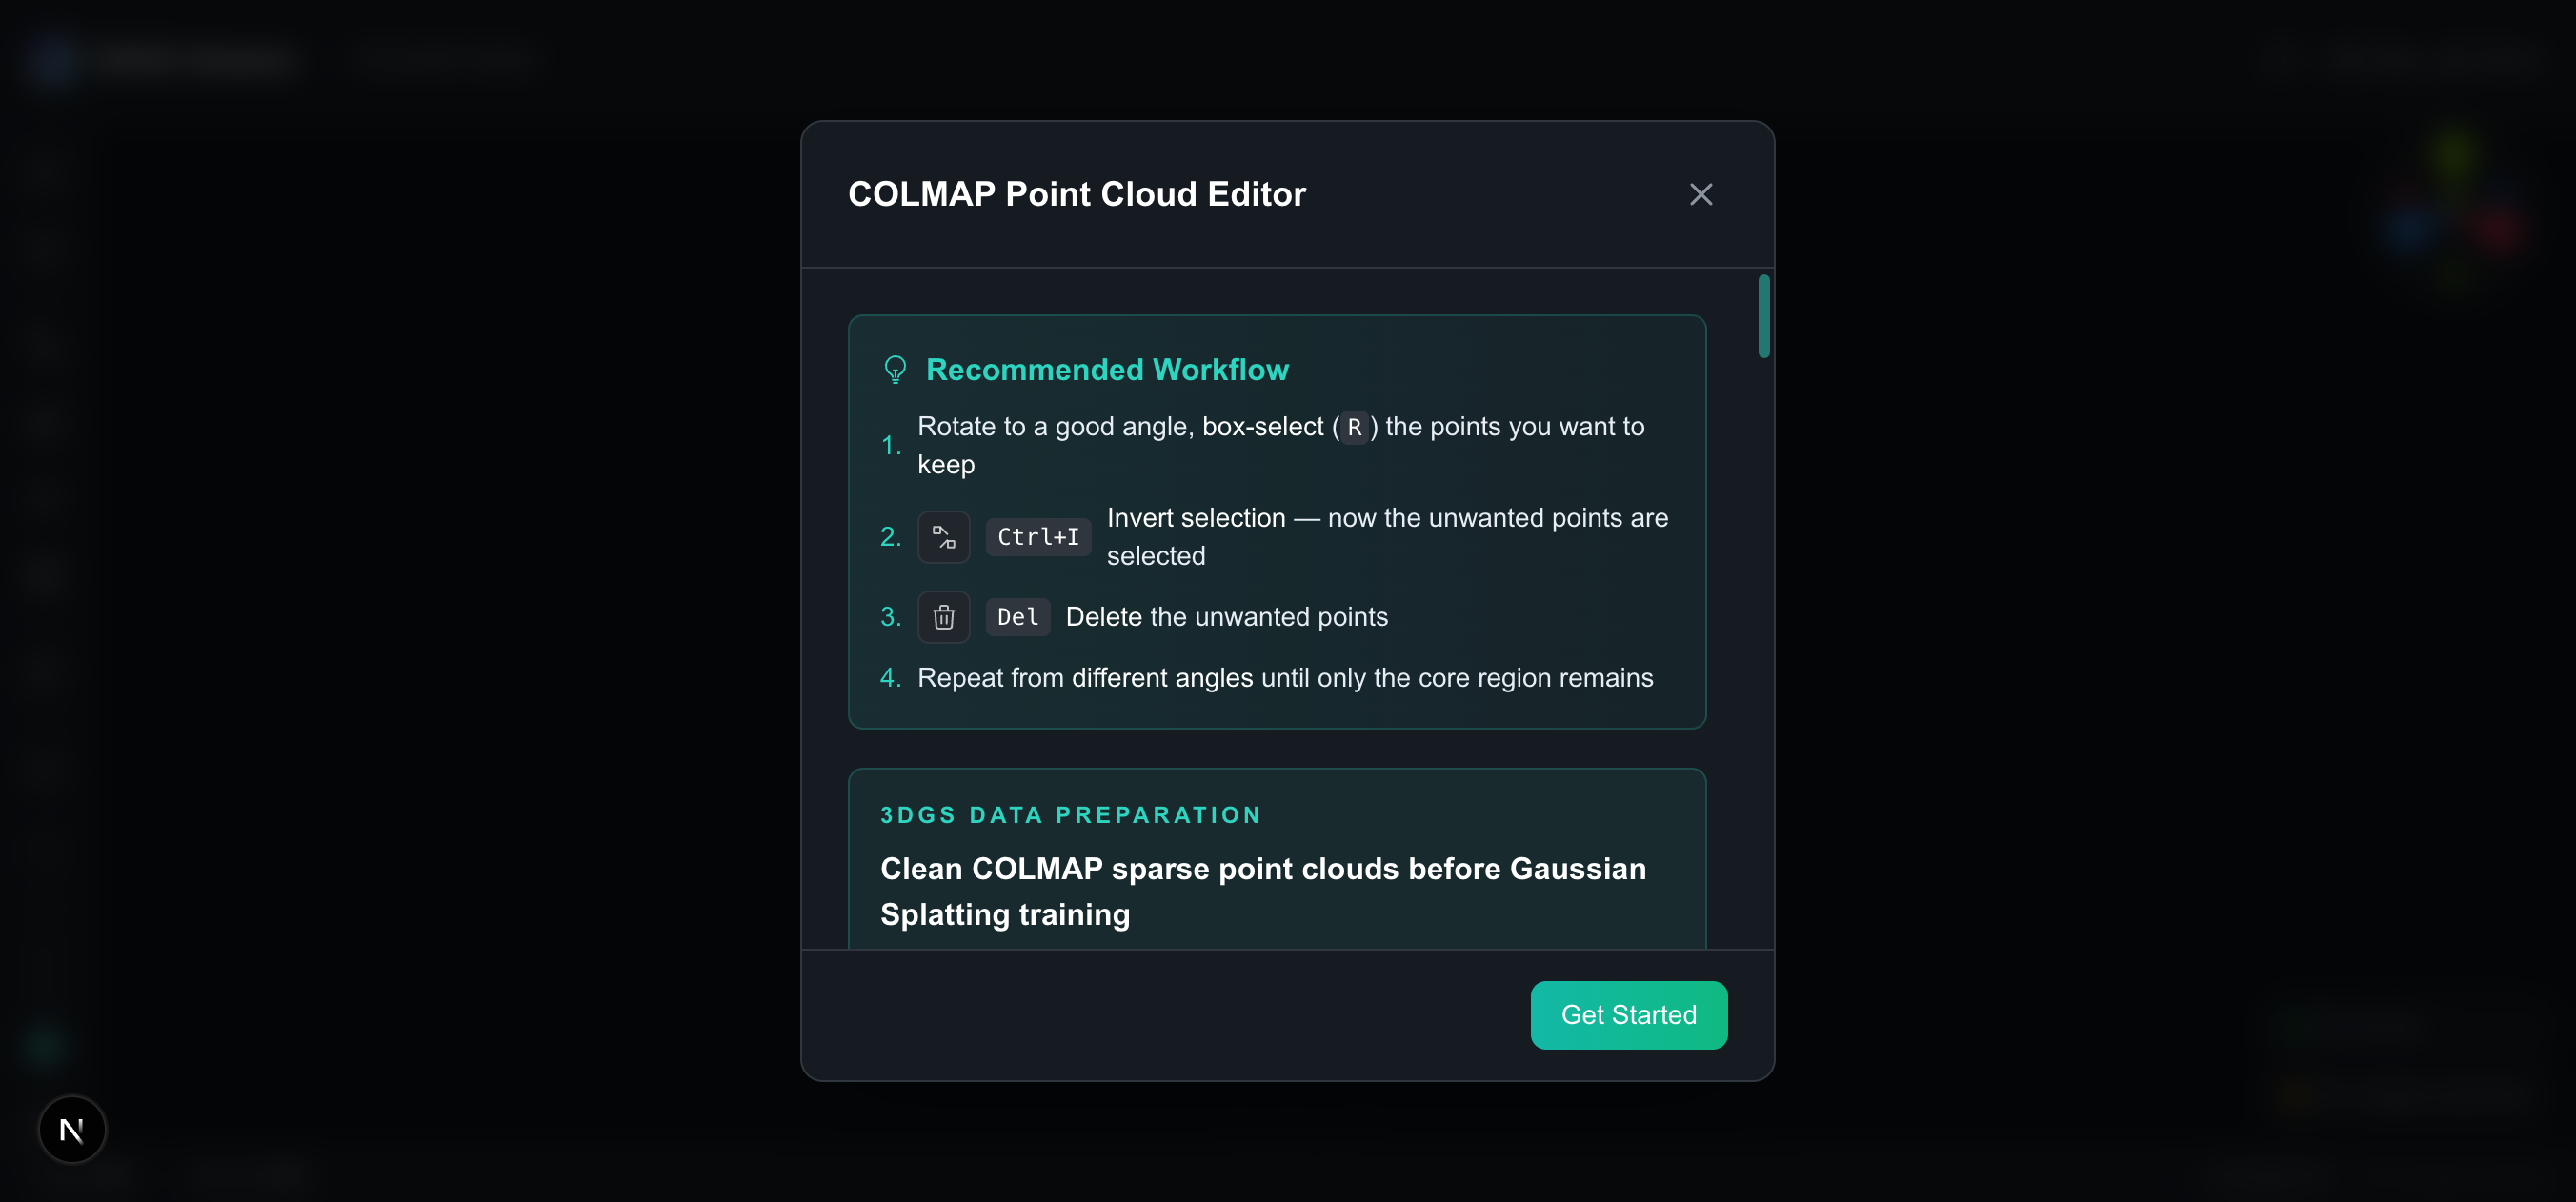
Press R for rectangle selection or L for lasso. Drag around a cluster of outlier points and hit Delete. The points are marked as deleted (soft-deleted), and the corner readout updates the active count.
Useful keyboard shortcuts while cleaning:
R/L— switch selection toolCtrl+A— select all visible pointsCtrl+I— invert selection (handy for “select everything that is not the main scene”)[/]— decrease / increase point size (helps spot outliers in dense regions)-/=— resize camera frustumsB— reset the view bounding box to fit all points
3. Clean up orphaned cameras
If you loaded images, cameras that lose all their referenced points turn gray. These orphans contribute nothing useful to training and often correspond to bad captures (motion blur, exposure spikes, reflections). Select and delete them the same way you delete points — the editor handles the track cleanup automatically: deleting a camera removes its exclusive points and trims shared points' track references.
The editor currently does not have undo/redo for individual deletes. Use Undelete All to restore every soft-deleted point if you change your mind about a batch, and use Reset only if you want to start completely over (it reloads the page).
4. Export the cleaned files
Once the active count looks right, export. The editor writes cleaned points3D.txt or points3D.bin (filtered to remove deleted points and fix up references) and, if you loaded images data, a cleaned images file with orphaned cameras removed. Drop these back into your COLMAP reconstruction folder, overwriting the originals, and you are ready to train.
What to delete, and what to leave
A few judgment calls worth stating explicitly:
- Delete isolated points far from the scene surface. If a point has no neighbors within a meaningful radius, it is almost certainly a mismatch.
- Delete sky points and points on moving objects (cars, people) if your scene is meant to be static. They cause ghosting.
- Keepsparse-but-real geometry — thin rails, wires, edges of foliage. These look like outliers but are real. If unsure, leave them; the optimizer can ignore a real point, but it cannot recover a missing one.
- Keep cameras even if they look redundant. Camera density drives view-dependent quality. Only remove clearly orphaned cameras.
How much should you clean?
You do not need a perfectly clean point cloud — the 3DGS optimizer is reasonably robust. The goal is to remove the worst offenders, not to achieve perfection. A practical target: if your raw cloud has obvious outlier clusters, removing 5–15% of points is usually plenty. Going further rarely helps and can starve the optimizer of initialization in legitimately sparse regions.
After training, if you still see floaters in the rendered model, that is a different (and often complementary) problem — see removing floaters from trained models for the post-training cleanup path.
Further reading
- COLMAP guide — the wider COLMAP workflow this cleaning step fits into.
- Removing floaters from trained models — the post-training counterpart to pre-training cleanup.
- Compressing Gaussian Splatting models — what to do after you have a clean, trained model.
Try it in your browser
3DGS Viewer runs entirely in your browser — no installation, no upload required for the tools covered in this article. Pick a tool and start in seconds.