
How to Compress 3DGS Models Without Losing Quality
Reduce 3DGS file size by tuning reduction ratio, opacity pruning, and SH compression. A practical workflow with real SSIM numbers and before/after examples.
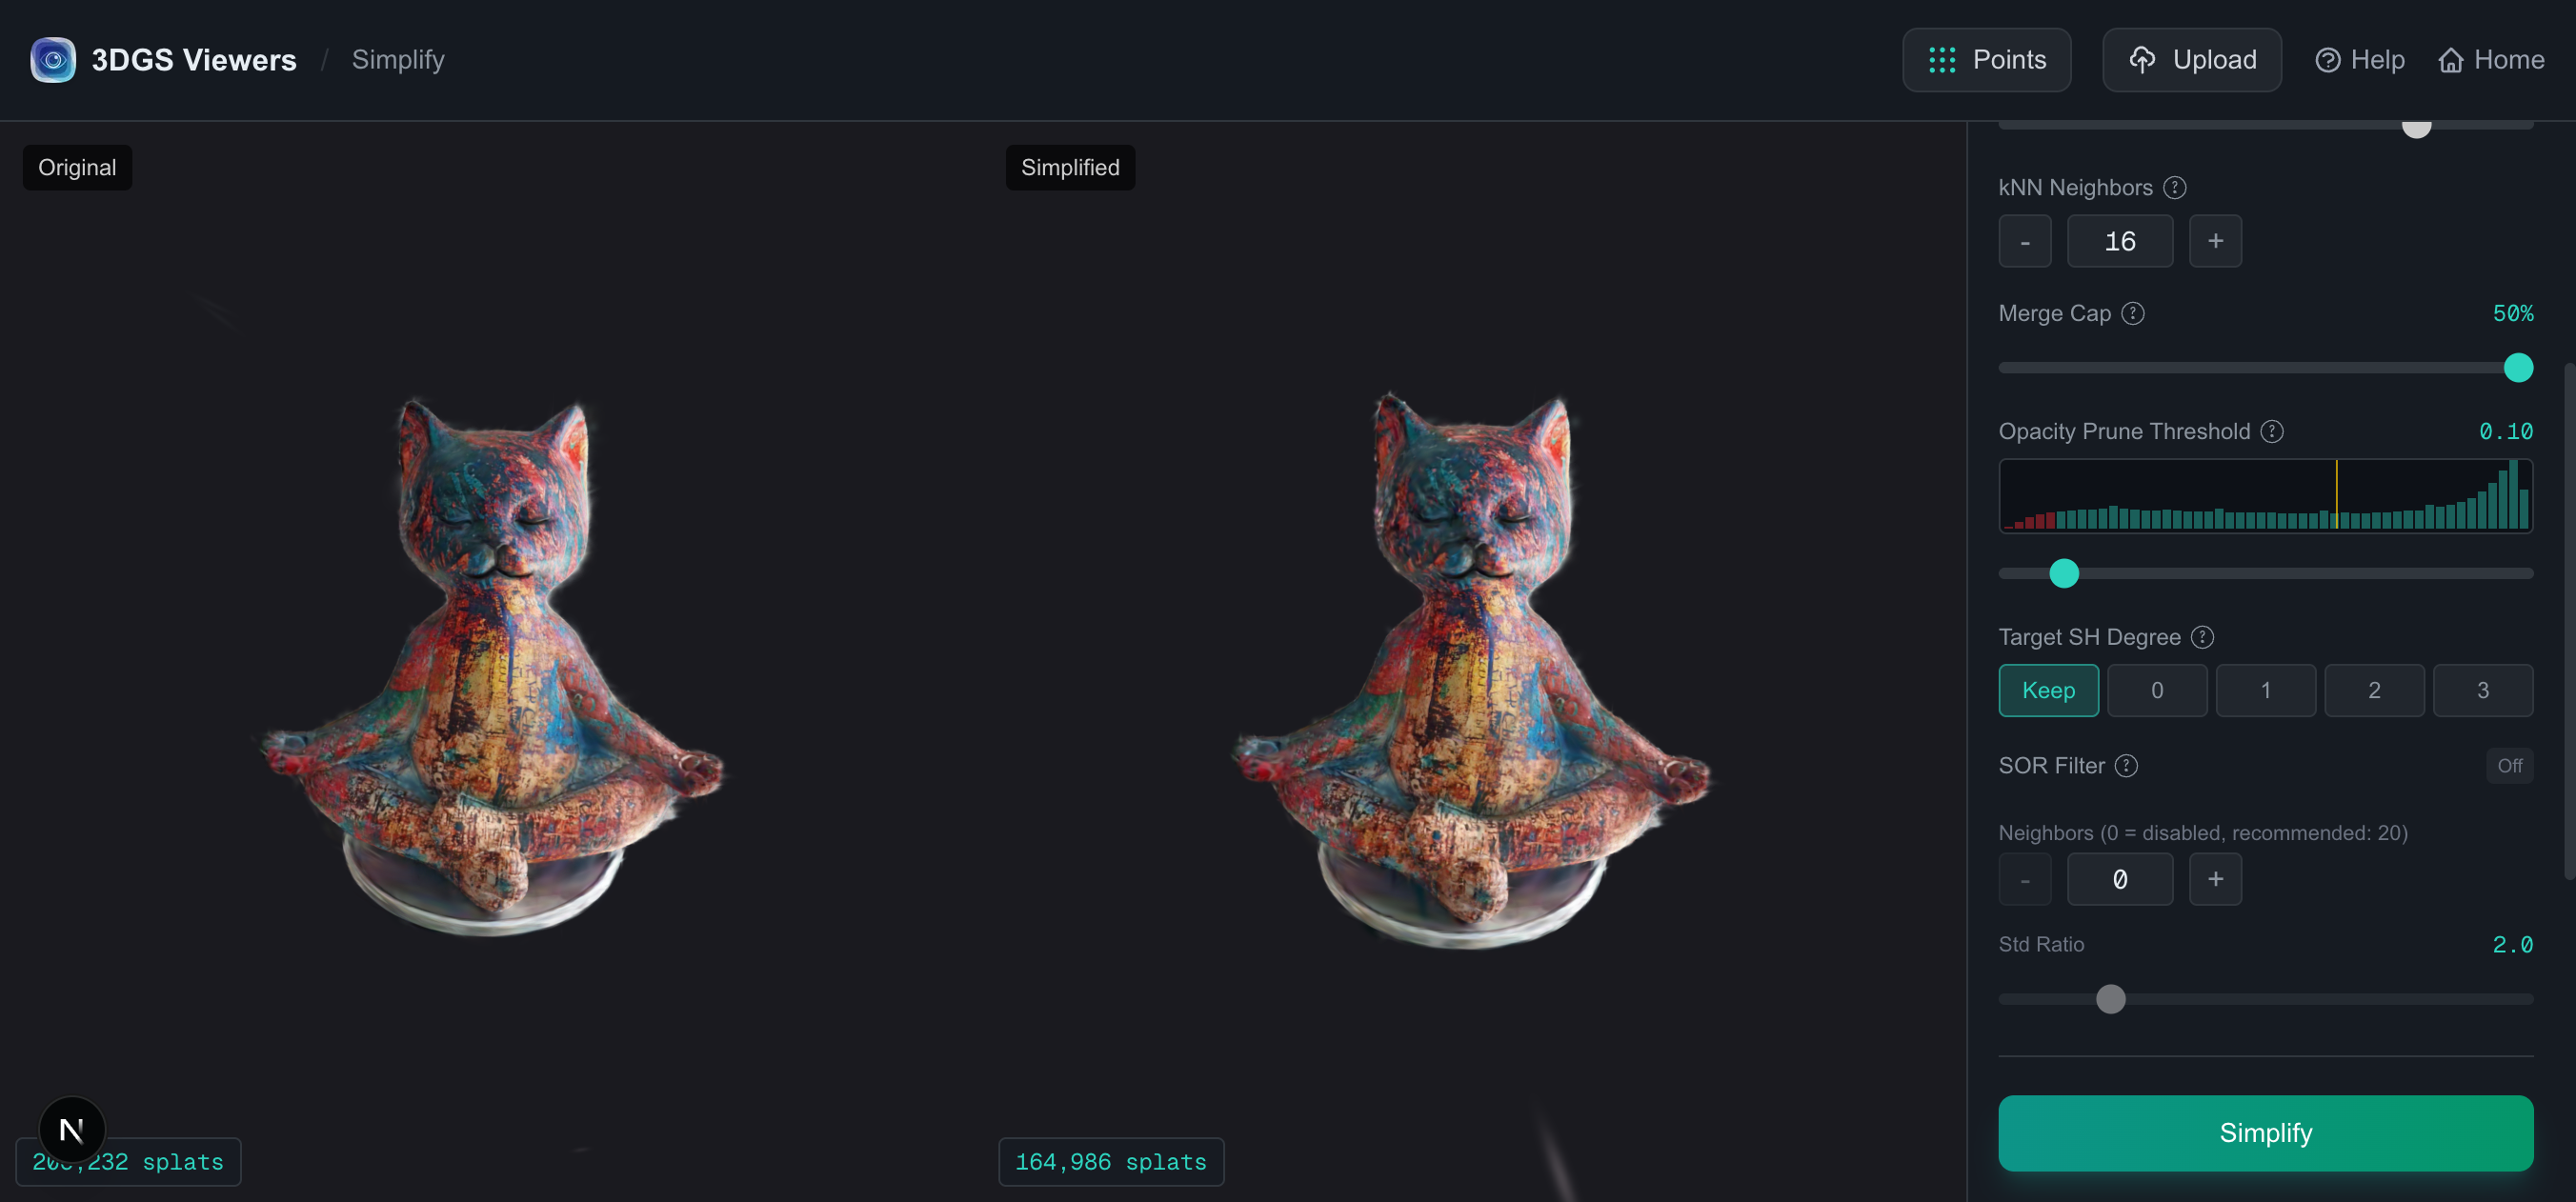
A trained 3D Gaussian Splatting model is often far larger than it needs to be. A capture that looks great rendered might still carry hundreds of thousands of redundant or near-invisible Gaussians. Compression — specifically simplification, which reduces the number of Gaussians — is how you turn a 100 MB scene into something a phone can load, without making it look worse.
This is a practical workflow for compressing 3DGS models using the online simplifier. Every number below comes from simplifying a real model (a ~206K-splat scene) with the default settings, so you can reproduce them yourself.
Two kinds of “compression”
It is worth being precise, because people use the word “compression” for two different things in 3DGS:
- Format compressionkeeps every Gaussian but packs each one into fewer bytes. Converting PLY to SPZ is format compression — the splat count stays the same, but the file shrinks ~10×. See the formats article for that.
- Simplification reduces the number of Gaussians by merging or removing them. That is what this article covers, and it is where the biggest gains (and the real quality decisions) live.
In practice you do both: simplify first to remove waste, then pick a compact delivery format. Simplification is the step where you actually look at the model and decide how much it can give up.
The simplification workflow
The 3DGS Simplify tool loads your model on the left, lets you tune parameters on the right, runs simplification in a Web Worker, and shows the simplified result on the right pane with synchronized cameras so you can judge quality loss directly.
Step 1 — inspect the source
Before changing anything, look at the model info panel. For our example scene:
206,232splats5.1 MBSPZ sourceSH3harmonics
Two things matter here. First, the opacity histogram (shown under the Opacity Prune control) tells you how many Gaussians are nearly transparent. A long tail of low-opacity splats is free quality to remove. Second, the SH degree tells you whether you have room to cut view-dependent color (more on that in the parameters article).
Step 2 — pick a reduction ratio and run
The Ratio slider is the main lever. It is a keepratio — 80% means “keep 80% of the Gaussians, merge away the other 20%.” Start conservative.
With the default 80% ratio on our example, the result after one pass:
164,986splats after-20.0%splats reduction-20.0%data reduction
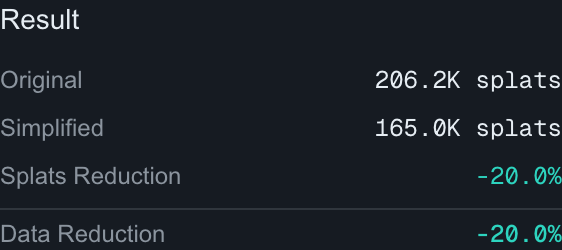
At 80%, the visual difference is usually invisible. This is your safe default for “make it a bit smaller, don't think too hard.”
Step 3 — push the ratio and verify with SSIM
To go smaller, lower the ratio and re-run. But past a certain point you will start to see artifacts — softening on thin edges, lost specular highlights, or floating patches. The tool lets you calculate SSIM from the current camera view to get a numeric similarity score (1.0 = identical) between the original and simplified renders.
SSIM is a signal, not a verdict. A high SSIM from one angle does not guarantee the model looks right from every angle. Use it to rule out bad settings quickly, then eyeball the views that matter most for your scene.
Move the camera to the view that matters most (a hero angle, a close-up of detail), run simplification, then calculate SSIM from that view. A ratio that holds SSIM above ~0.95 on your key views is almost always safe to ship.
Step 4 — export
Once you are happy, export. The simplifier's worker writes a PLY internally, and the Export button then re-encodes it into any of the supported delivery formats (PLY, compressed PLY, SPZ, SPLAT, KSPLAT, SOG). For web delivery, export to SPZ or SOG after simplifying.
How aggressive should you be?
There is no universal number — it depends on the scene — but here are rules of thumb from simplifying many models:
| Keep ratio | Typical use | What to expect |
|---|---|---|
| 80–90% | Safe default, archival preview | Effectively invisible quality loss |
| 50–70% | General web delivery | Minor softening on fine detail; verify with SSIM |
| 20–40% | Mobile / low-power preview | Visible loss on edges and specular; check hero views |
| < 20% | Thumbnail / loading placeholder | Heavy artifacting; only for low-quality previews |
What simplification actually does to your Gaussians
The default simplification in this tool uses kNN merging with moment matching. For each Gaussian that is being removed, it finds the nearest neighbors (controlled by the kNN Neighborsparameter), and merges their position, scale, rotation, color, and opacity so that the merged result preserves the original's contribution as closely as possible. This is why a 20% reduction at default settings is usually invisible: the removed splats' visual energy is absorbed by their neighbors.
Beyond merging, you have three more levers you can layer on:
- Opacity pruning— removes Gaussians below an opacity threshold. Great for the long tail of nearly-invisible splats.
- SH degree reduction— drops spherical harmonics from SH3 down to SH2/SH1/SH0, saving bytes per splat at the cost of view-dependent color.
- SOR outlier filter— statistical removal of isolated Gaussians. This is the tool for removing floaters.
Each of these is covered in detail in the parameters deep-dive.
Common mistakes
- Simplifying before you've cleaned the training data. If your COLMAP point cloud has outliers, simplification will faithfully preserve them. Clean first, then simplify.
- Trusting a single SSIM number. SSIM is view-based. Always check the angles that matter for your scene, not just the default camera.
- Throwing away the original. Always keep the unsimplified PLY as your master. The simplified file is a delivery artifact.
- Going straight to a low ratio.Start at 80% and step down. The quality cliff is steep and scene-dependent — you will not know where it is until you hit it.
Further reading
- Tuning kNN and opacity pruning — the full parameter reference.
- Gaussian Splatting formats compared — pick the right delivery format after simplifying.
- Comparing 3DGS runs — how to judge whether a simplified model still matches the original.
- LightGaussian — the research behind pruning and quantizing trained Gaussians.
Try it in your browser
3DGS Viewer runs entirely in your browser — no installation, no upload required for the tools covered in this article. Pick a tool and start in seconds.