
Comparing 3DGS Training Runs: Spot Quality Differences
A side-by-side workflow for evaluating 3DGS training runs, simplification results, and format conversions with synchronized cameras and SSIM scoring.
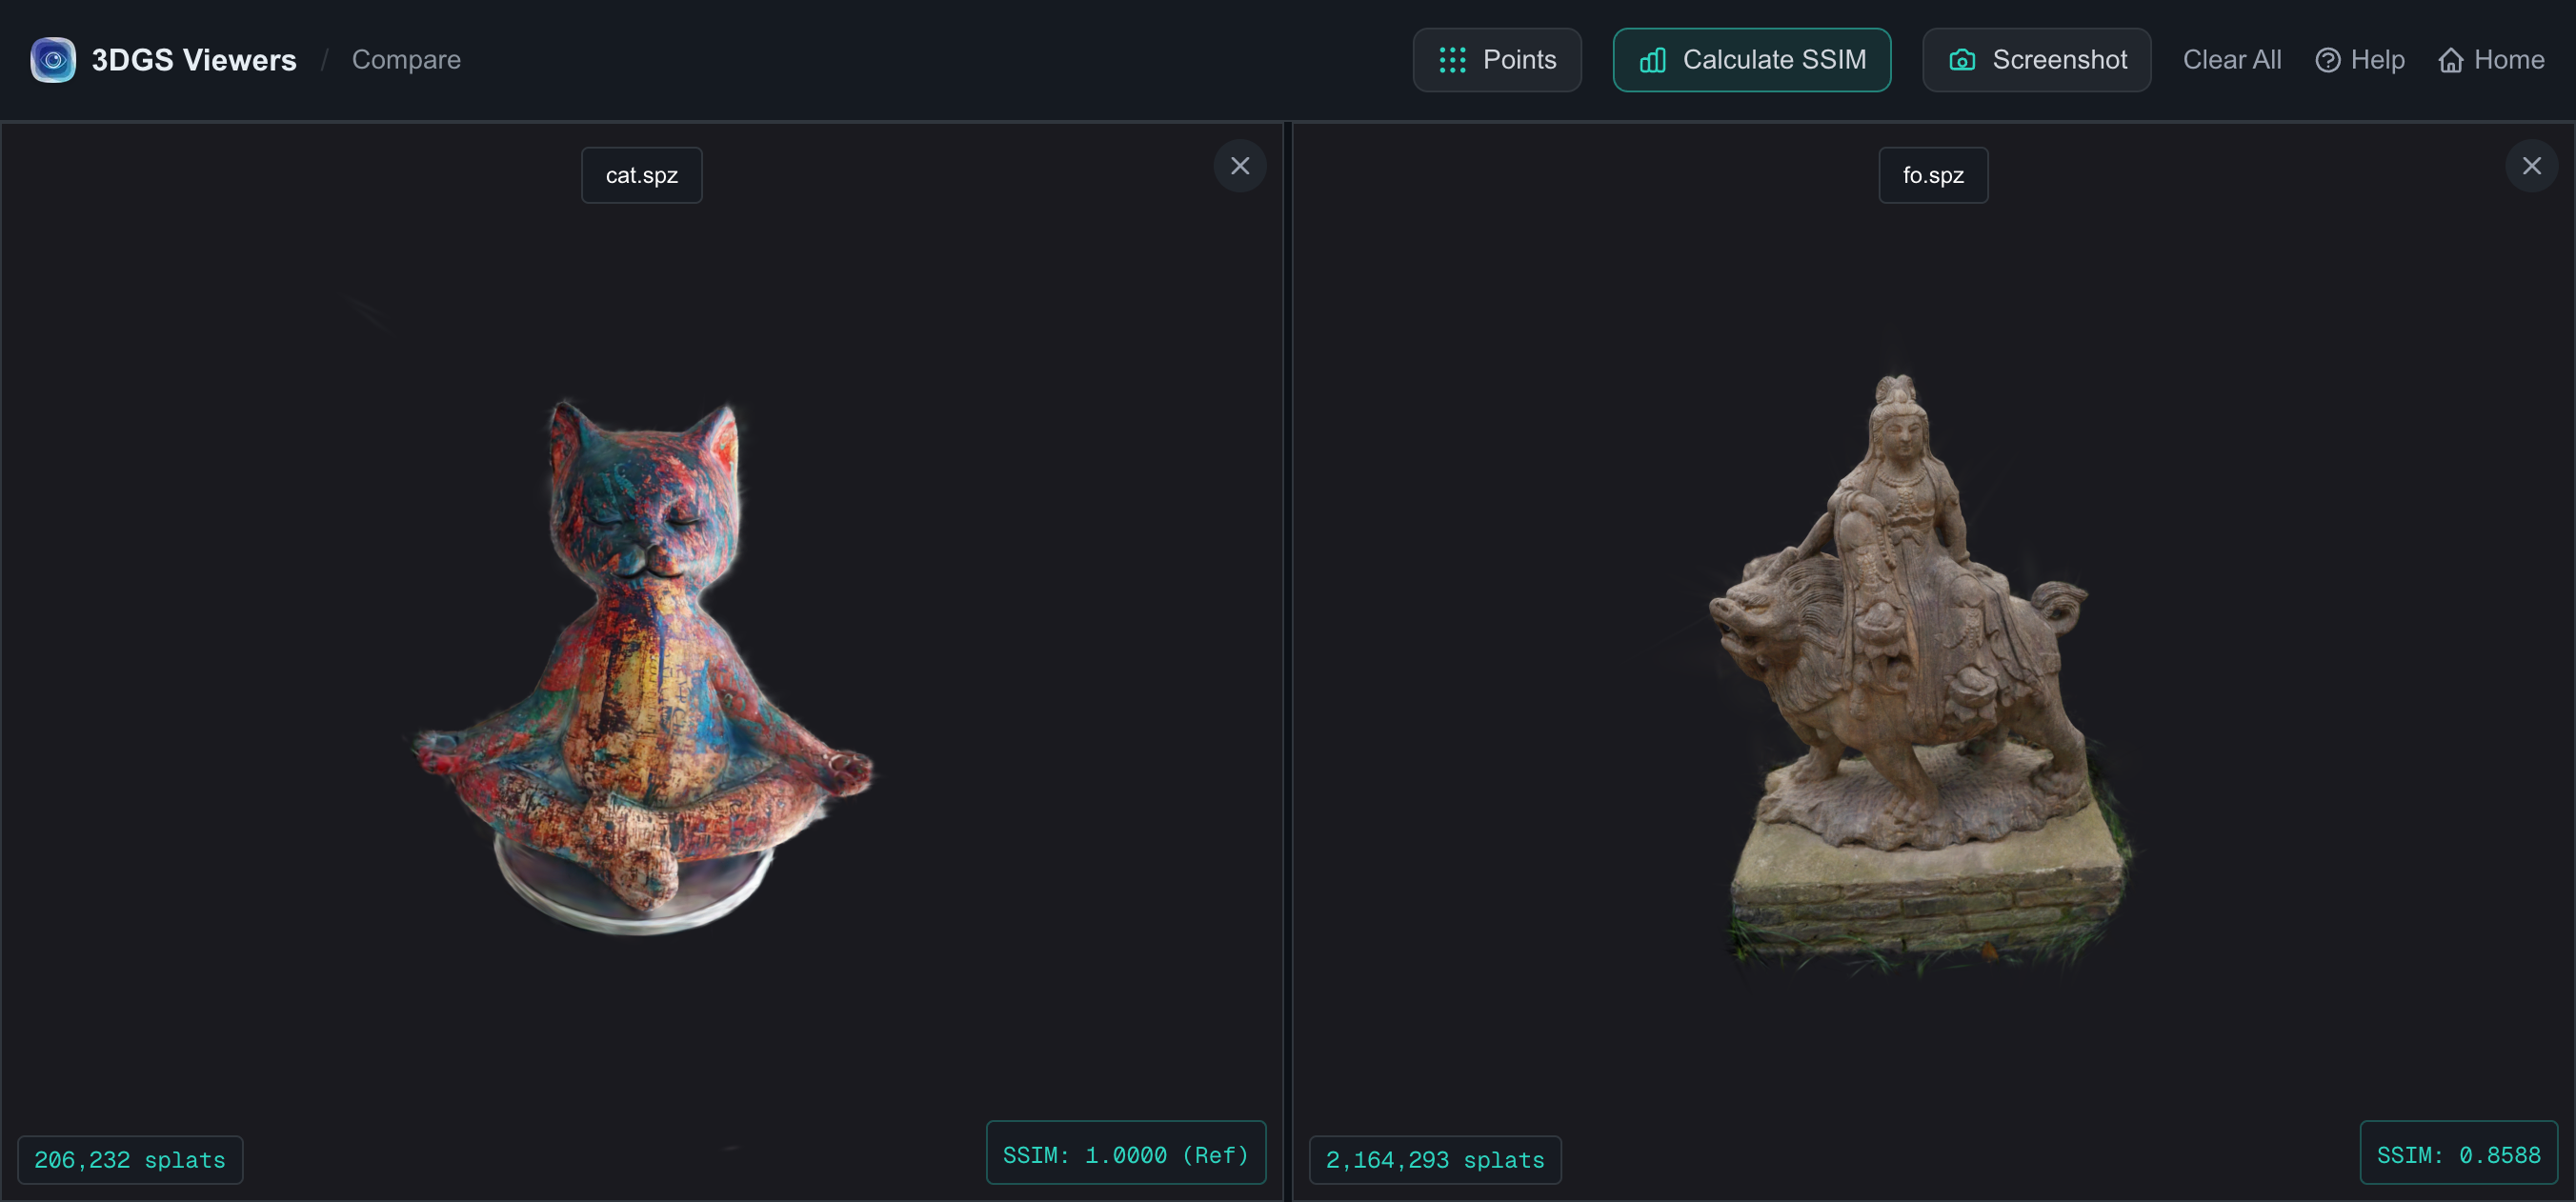
The moment you train your second 3D Gaussian Splatting model, you have a comparison problem. Did simplifying to 50% ratio actually preserve quality? Does the SPZ export look the same as the original PLY? Is the new training run better or worse than yesterday's? Eyeballing two models in separate windows does not work — you cannot judge quality differences when the camera angles are even slightly off.
The 3DGS Compare tool solves this by loading up to three models side by side with synchronized cameras, so every model is inspected from the exact same angle. Add SSIM scoring and screenshot export, and you get a repeatable quality check you can actually trust.
When side-by-side comparison earns its keep
- Training runs: compare iterations 7000 vs 15000 vs 30000 to see where quality plateaus.
- Simplification quality: put the original next to the simplified model and check whether detail held up.
- Format conversion:verify that exporting PLY → SPZ → SOG did not introduce artifacts.
- Hyperparameter sweeps: compare results across different densification, opacity, or SH settings.
- Client review: export a single comparison screenshot with annotations rather than sending three separate files.
The workspace
Load two or three models and the workspace arranges them in a responsive grid. Move the camera in any one of them and the others follow in lockstep — orbit, pan, zoom, and WASD flight all sync across viewers. The first model you load is the reference; SSIM scores are computed relative to it.
Reading an SSIM score
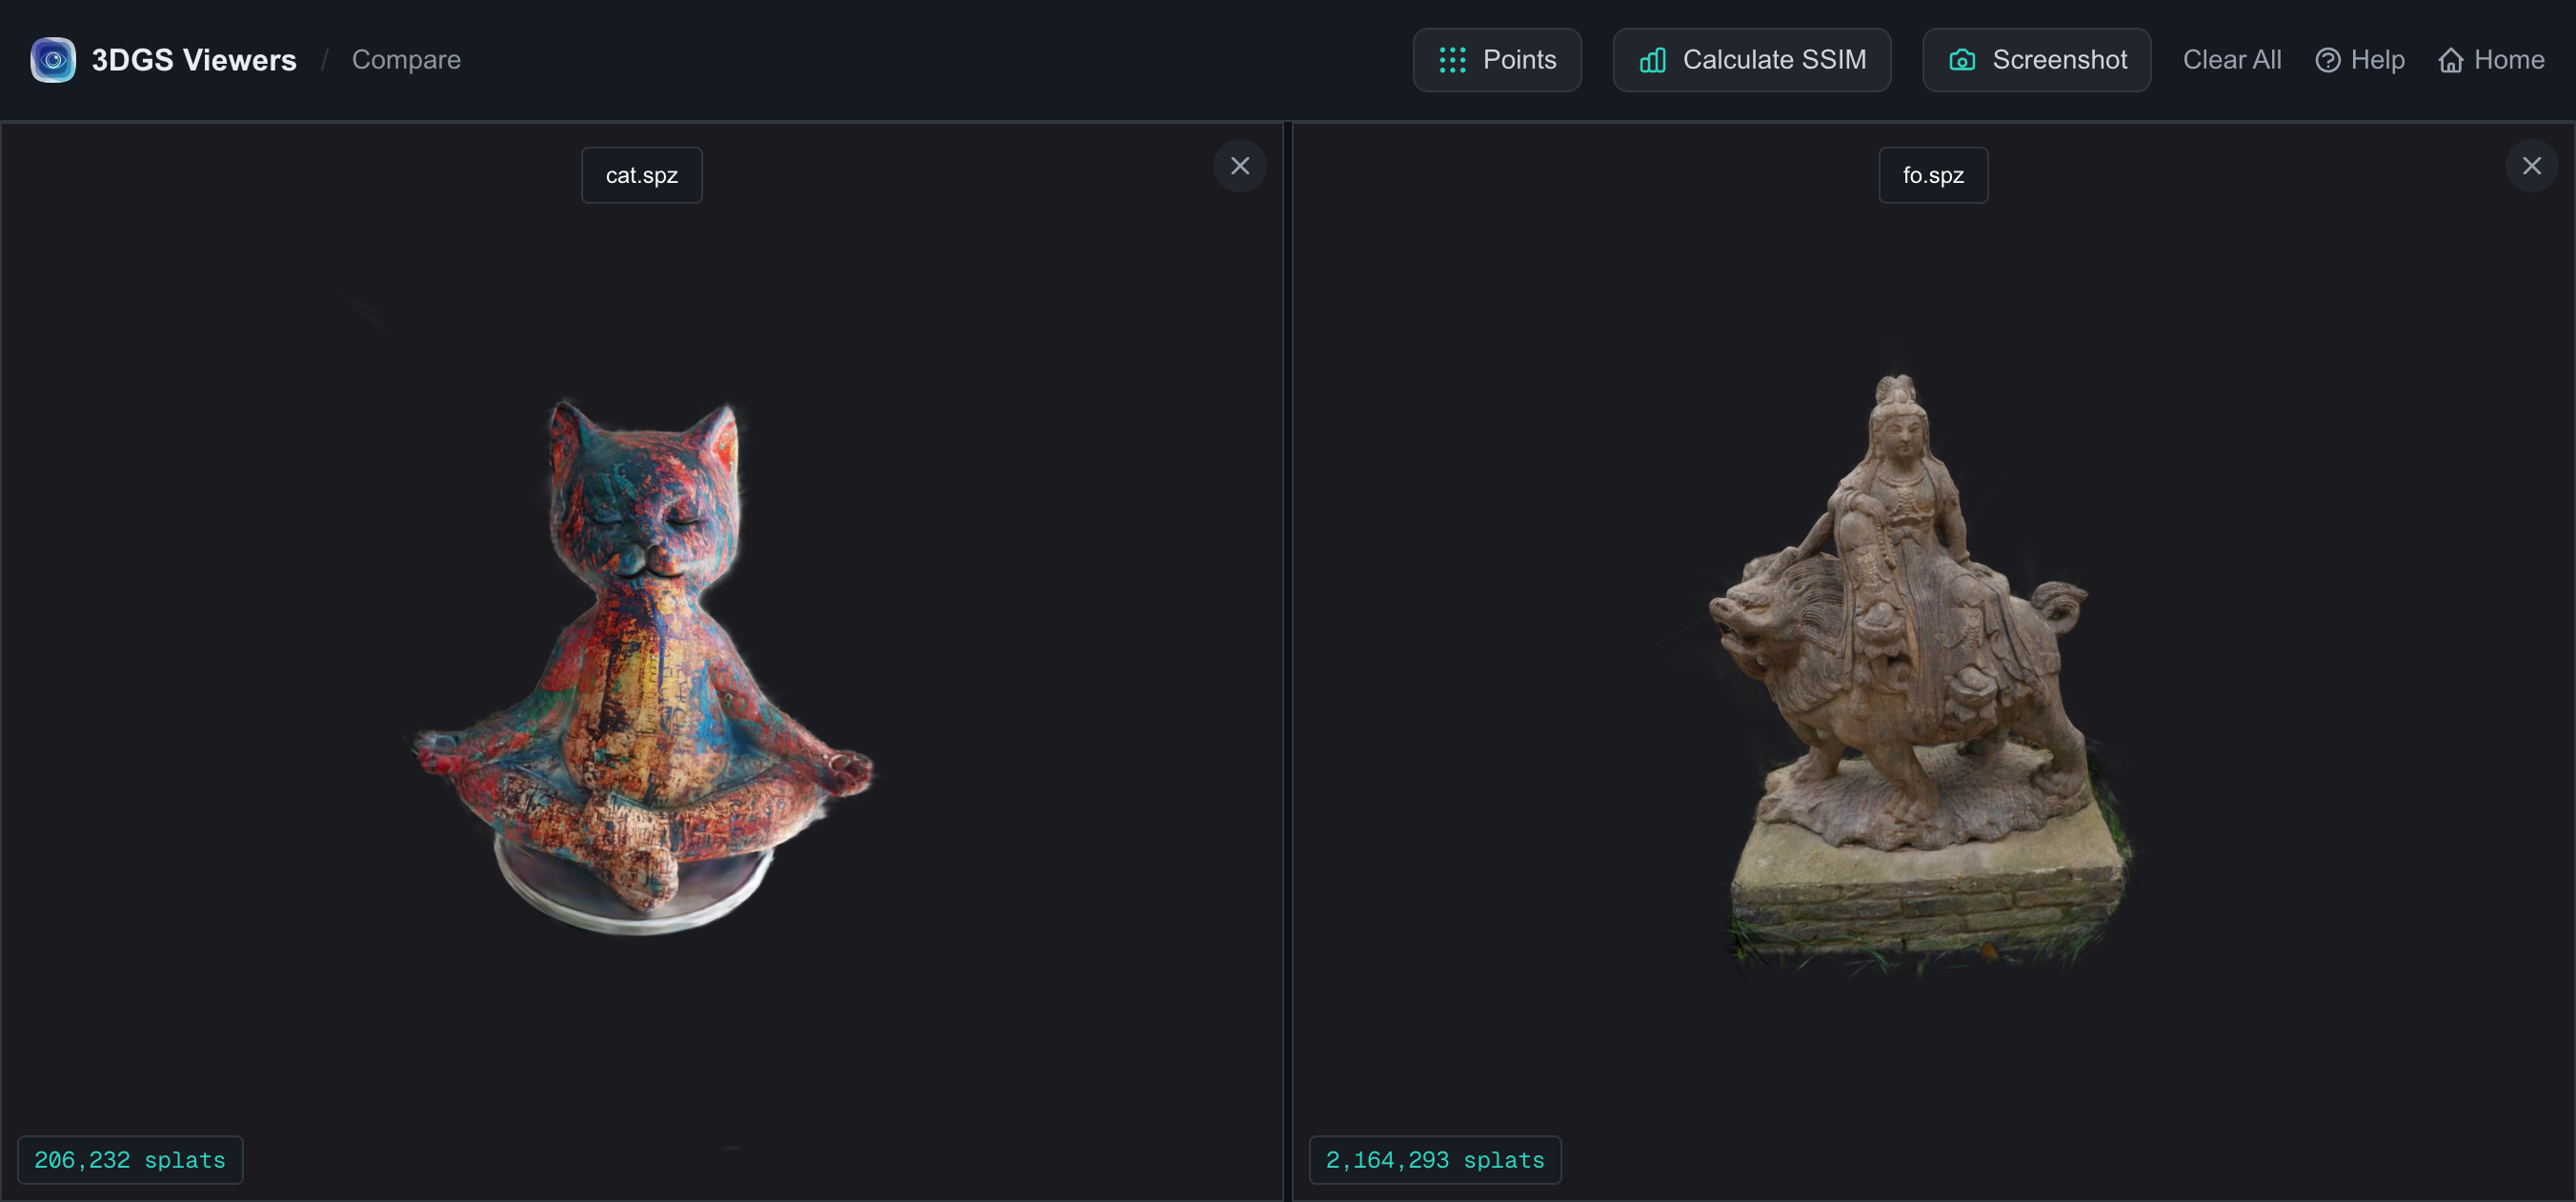
SSIM (Structural Similarity Index) measures how similar two images are in terms of luminance, contrast, and structure. It ranges from −1 to 1, where 1 means identical. In this tool, each model is rendered from the current camera view, the renders are normalized to a common resolution, and SSIM is computed against the reference model's render.
Here is what that looks like in practice, comparing a 206K-splat reference against a much larger 2.16M-splat version of a related scene:
1.0000reference SSIM0.8588second model
SSIM is a useful triage signal, not a final verdict. Roughly: > 0.95 means the views are visually indistinguishable; 0.85–0.95 means minor differences visible on close inspection; < 0.85means clearly different renders. But SSIM is view-based — a high score from one angle does not guarantee quality from every angle, so always re-check your hero views by eye.
The comparison workflow
- Load the reference first. Drop in your baseline model (the original, or the higher-quality version). It becomes the SSIM reference.
- Load one or two comparisons. Up to three slots total. The grid auto-arranges.
- Find the view that matters.Orbit to a hero angle — typically a close-up on the most detailed or most artifact-prone region.
- Click Calculate SSIM. The tool captures each viewer, normalizes resolution, and scores. If you move the camera, scores go stale and you re-calculate.
- Export a comparison screenshot.The Screenshot button composites the whole grid into one PNG with titles, splat counts, and SSIM badges — perfect for a review note or a changelog entry.
What syncs and what doesn't
Camera state (position, quaternion, target, zoom) syncs across all viewers. Point-cloud rendering mode and point size also sync, which is useful when you want to inspect the raw splat distribution rather than the rendered surface. Each model keeps its own title and note (editable by clicking the label), so you can annotate which slot is which version.
Three comparisons worth running
Original vs simplified
After simplifying a model, load the original and the simplified version. A good simplification should hold SSIM above ~0.95 on hero views. If it drops below that, either raise the ratio or revisit the parameters in the tuning guide.
PLY vs delivery format
Convert your master PLY to SPZ, SOG, or SPLAT, then load both into the compare workspace. You are looking for format-conversion artifacts: banding from color quantization, flatness from SH reduction, or edge softness from covariance quantization.
Old training vs new training
When you change training hyperparameters, compare the two outputs at the same camera. SSIM will not tell you which is “better" (both differ from each other, neither is a ground truth), but it will tell you how much they differ, which helps you decide whether a change was meaningful or noise.
Limitations to keep in mind
- SSIM is 2D, from one view. It compares rendered images, not the 3D models directly. A model can score well from one angle and poorly from another. Always sample multiple views.
- SSIM does not know which model is “correct”. If your reference itself is bad, a high SSIM just means the other model is similarly bad.
- Maximum three models. Enough for a reference plus two candidates. For larger sweeps, compare in batches.
- Camera sync is one-way broadcast. The model you last interacted with becomes the camera source; the others follow. If the view stops syncing, click into the viewer you want to drive.
Further reading
- Compressing Gaussian Splatting models — the workflow whose quality you verify with this tool.
- Gaussian Splatting formats compared — what you are checking when you compare PLY vs SPZ.
- Full compare guide and FAQ — every shortcut and option in the tool.
Try it in your browser
3DGS Viewer runs entirely in your browser — no installation, no upload required for the tools covered in this article. Pick a tool and start in seconds.