
Planning Camera Paths for Gaussian Splatting Fly-Throughs
Build smooth fly-through animations from 3DGS scenes by capturing waypoints and replaying camera motion. A workflow for demos, reviews, and video export.
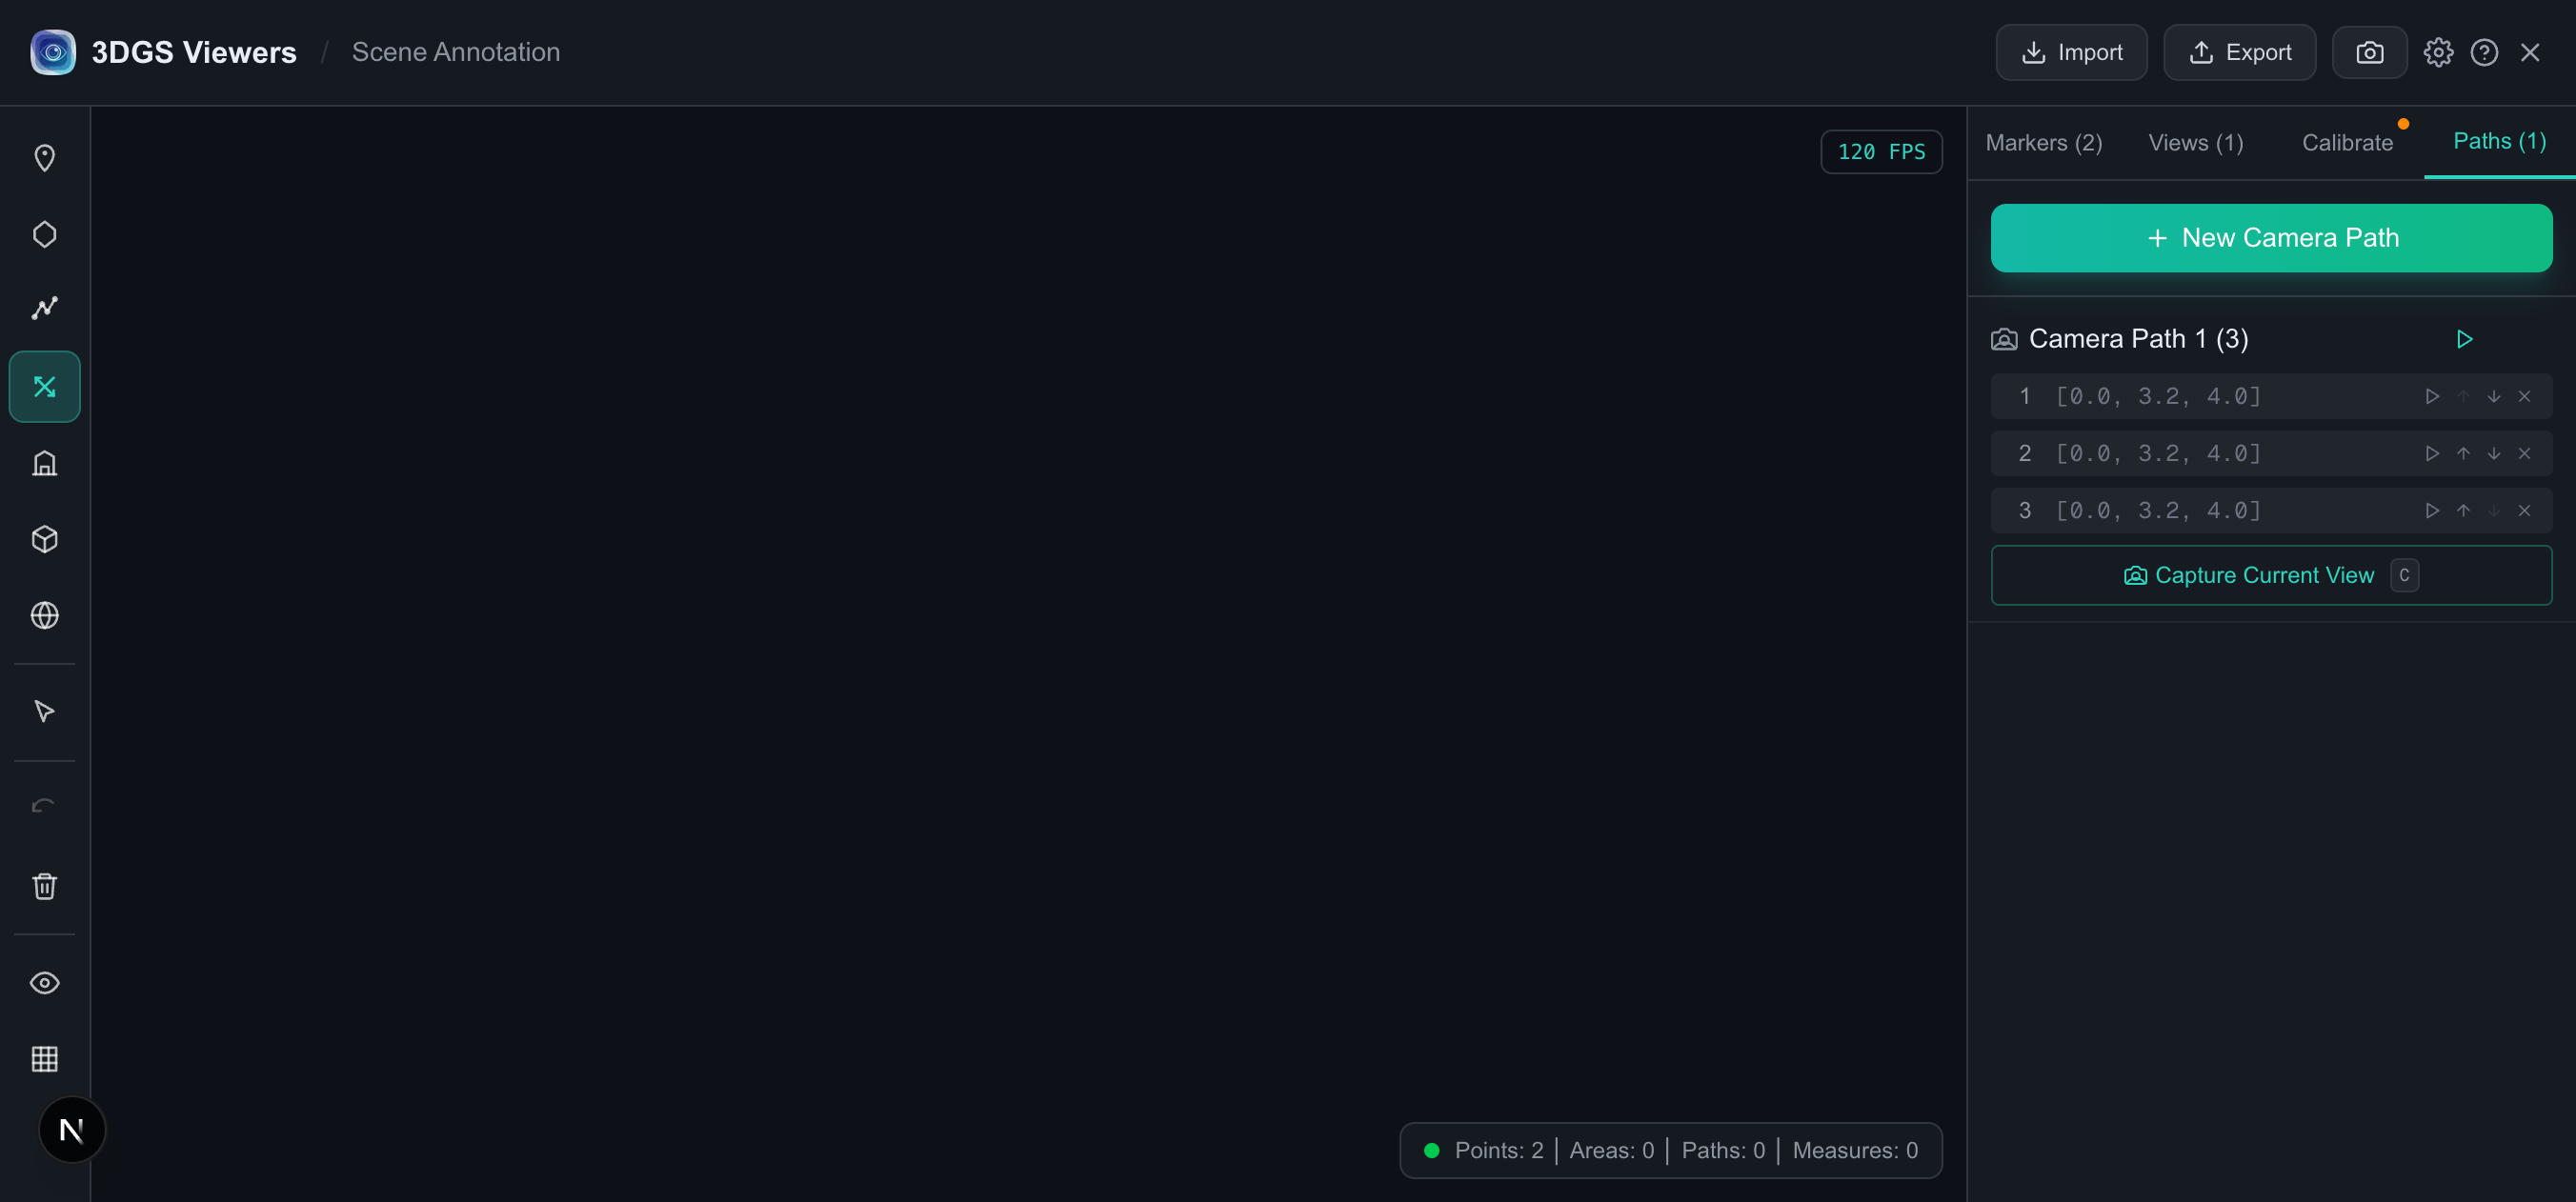
A Gaussian Splatting model rendered at a single angle is a still image. A fly-through turns it into a presentation: a smooth camera move through the scene that shows a client the space, walks a reviewer through key viewpoints, or produces frames for a video. The Scene Annotation toolincludes a camera path builder for exactly this — capture a few waypoints by orbiting, then replay them as a continuous animation.
This is a practical guide to building fly-throughs from 3DGS scenes: how waypoints work, how to plan a path that reads well, and how to get frames out for video.
How camera paths work here
A camera path is an ordered list of waypoints. Each waypoint captures the full camera state — position, orientation, and target — at a moment you choose. When you play the path back, the tool interpolates smoothly between waypoints, producing a continuous camera move through the scene.
This is different from a saved viewpoint (which is a single static camera position). A path strings viewpoints together with motion between them. You can have multiple independent paths in one scene — say, one for a hero intro and one for a detail walkthrough.
Building a path
In the annotation tool, open the Paths panel and click New Camera Path. Then:
- Orbit / pan / zoom to the first camera position you want in the fly-through.
- Click Capture Current View (or press
C). The waypoint is added with its full camera state recorded. - Move the camera to the next position and capture again.
- Repeat until the path is complete. Each waypoint's coordinates are listed in the panel.
Capturing good waypoints
The quality of a fly-through is mostly decided at capture time. A few principles:
- Start wide, end close. An establishing shot that shows the whole scene gives the viewer context; moving toward detail as the path progresses keeps attention.
- Mind the spacing. Waypoints that are close together in space produce a slow move; far-apart waypoints produce a fast one. Mixed spacing produces uneven motion that feels jarring. Try to keep consecutive waypoints at a similar distance unless you want a deliberate speed change.
- Keep camera height consistent unless you are deliberately rising or descending. Vertical wobble between waypoints reads as drift.
- Look ahead, not at the waypoints.Each waypoint's orientation should point toward where the camera is heading, so the interpolation produces forward motion rather than a pivot.
Pairing paths with calibration
If you have calibrated the scene (set scale, ground height, and north), paths respect that calibration. That means a path captured at a consistent height above the ground plane stays level, and a north-oriented path reads correctly in geographic context. For site walks through architectural or outdoor scenes, calibrate first.
Replay and export
Once a path has at least two waypoints, you can replay it: the camera steps through the waypoints with smooth interpolation, producing the fly-through animation. Use this to sanity check the move — if a transition feels abrupt, capture an intermediate waypoint to smooth it out.
To get the fly-through out of the browser:
- As part of an annotation session: paths export inside the same JSON as markers, viewpoints, and calibration. Re-importing the JSON on another machine restores the path for re-playback.
- As frames for video:play the path back and capture frames (the tool's screenshot function, or an external screen recorder) at regular intervals. Stitch the frames into a video clip in any editor.
Browser playback is paced by requestAnimationFrame, which means frame timing depends on your machine's load and refresh rate. For a clean video export, the most reliable path is to capture more frames than you need during playback and pick a consistent subset in your editor. For quick previews, the in-tool replay is fine.
Combining paths with annotations
Because paths live in the same workspace as markers and measurements, you can build a path that visits each annotation in turn — essentially a guided tour of the scene's points of interest. Capture a waypoint in front of each marker, in the order you want a reviewer to see them, and the resulting fly-through becomes a narrated walk through your review notes.
This is particularly useful for client review: rather than asking someone to orbit a 3D model themselves (which they may not be comfortable with), you hand them a path that shows exactly the views you want them to see, in the order you want them seen.
Planning a path that reads well
A good fly-through is a small piece of cinematography. A few planning tactics:
- Scout first.Before capturing anything, orbit the scene manually and identify the 3–6 views that best tell the story. Note their rough order.
- Decide on motion style. A slow, continuous forward move feels like a steadicam. Cutting between distinct viewpoints (with brief motion between each) feels like an edit. Pick one and keep it consistent.
- Capture in order. It is much easier to build a clean path by capturing waypoints front-to-back than to reorder them after the fact.
- Replay and revise. Watch the playback at least once. Almost every path benefits from one intermediate waypoint to smooth a transition or one removed waypoint that was causing a whip-around.
- Keep it short.A 15–30 second fly-through almost always lands better than a two-minute one. Attention drops fast; pick the essential views and cut the rest.
What camera paths are not for
A couple of cases where a fly-through is the wrong tool:
- Letting a viewer explore freely. If the goal is for someone to orbit the model themselves, hand them a viewer link, not a path. Paths are for directed viewing.
- Inspecting detail. For close QA work, side-by-side comparison with a fixed camera is more reliable than a moving one.
- Showing every part of a large scene. Long paths through large scenes tend to feel aimless. Cut to the highlights instead.
Further reading
- Annotating and measuring 3DGS scenes — the marker and measurement workflow that paths complement.
- Compressing Gaussian Splatting models — smooth playback on the web usually needs a simplified model first.
- Full annotation tool guide and FAQ — every panel and shortcut, including the Paths panel.
Try it in your browser
3DGS Viewer runs entirely in your browser — no installation, no upload required for the tools covered in this article. Pick a tool and start in seconds.